I have often said that Pinterest is the death of the design industry. Not because I don’t LOVE it…I do. But now people have access to images that depict perfect spaces, and yet have no price attached to them. When we were doing tons of remodels, clients would constantly bring us pictures of kitchens and bathrooms from Pinterest, saying “We MUST have this kitchen! It is perfect!”. Well, yes, that kitchen is perfect…and it more than likely cost about $200 grand…JUST FOR THE KITCHEN. But of course, they don’t say that on Pinterest. So I have spent MUCH time trying to find affordable finishes that can be used in interesting ways to try an approximate things that I see in design magazines, blogs, and yes, on Pinterest. Not copy (although, let’s be honest here, aint nobody reinventing the wheel), but try to do something that feels as cultivated, layered, and well-designed without breaking the bank. One of my favorite ways to do this is to take affordable tile, and lay it in cool patterns. Laying your tile in an interesting pattern can take a $3-4 a square foot tile and make it look like a million bucks. We have already discussed making a feature shower wall in herringbone with affordable tile, but let’s look at some other options!
- Plaid:
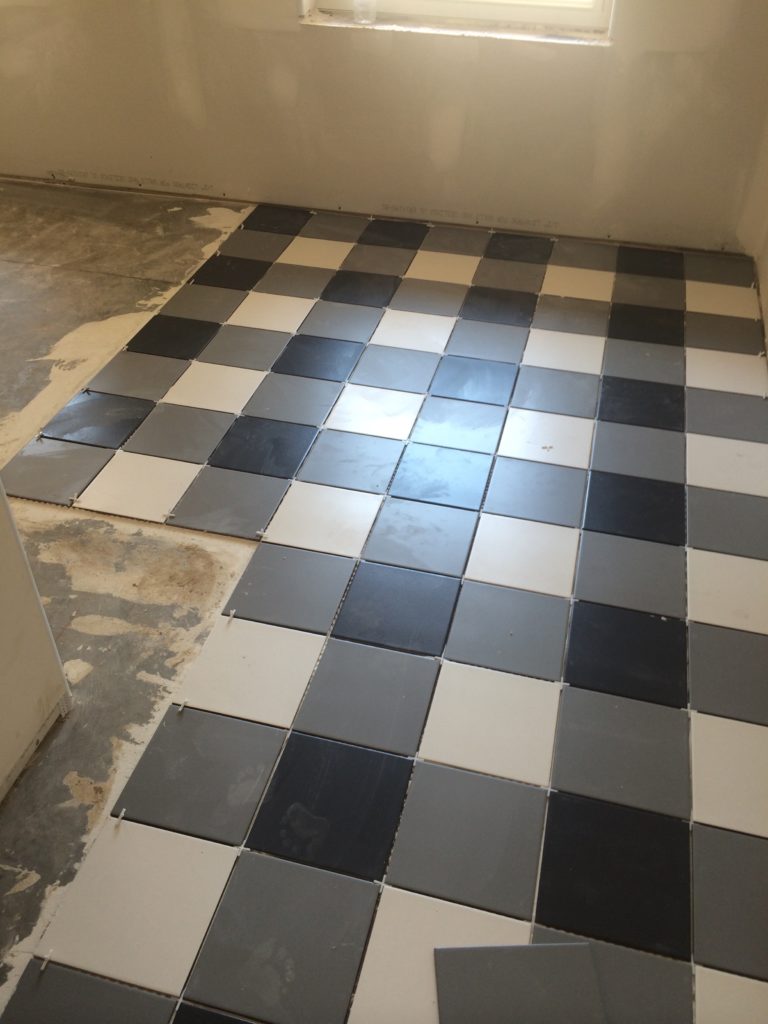
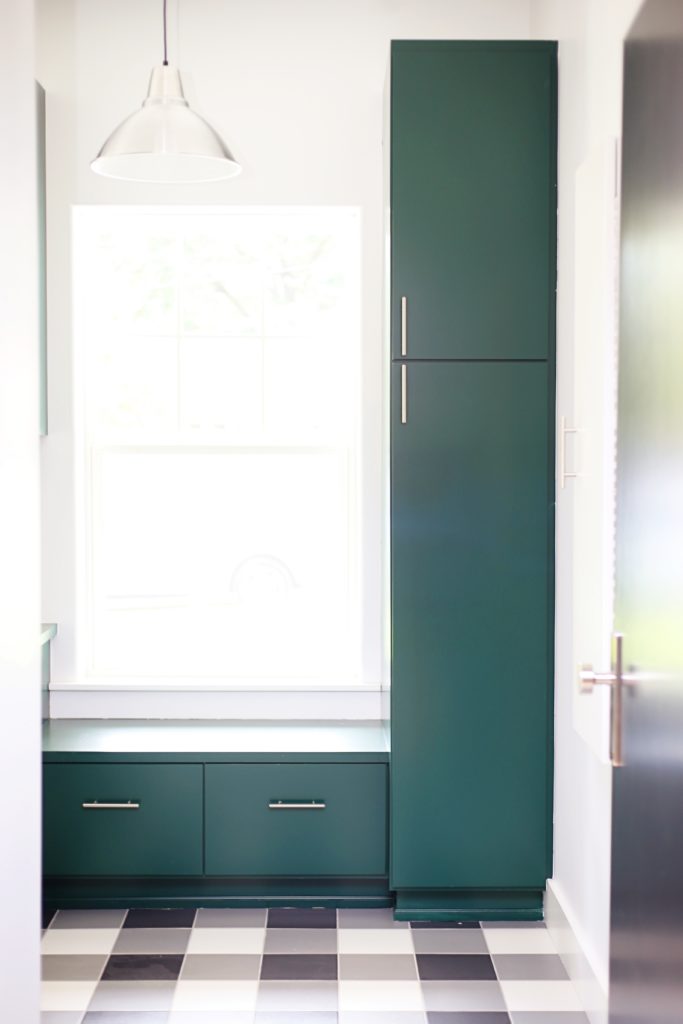
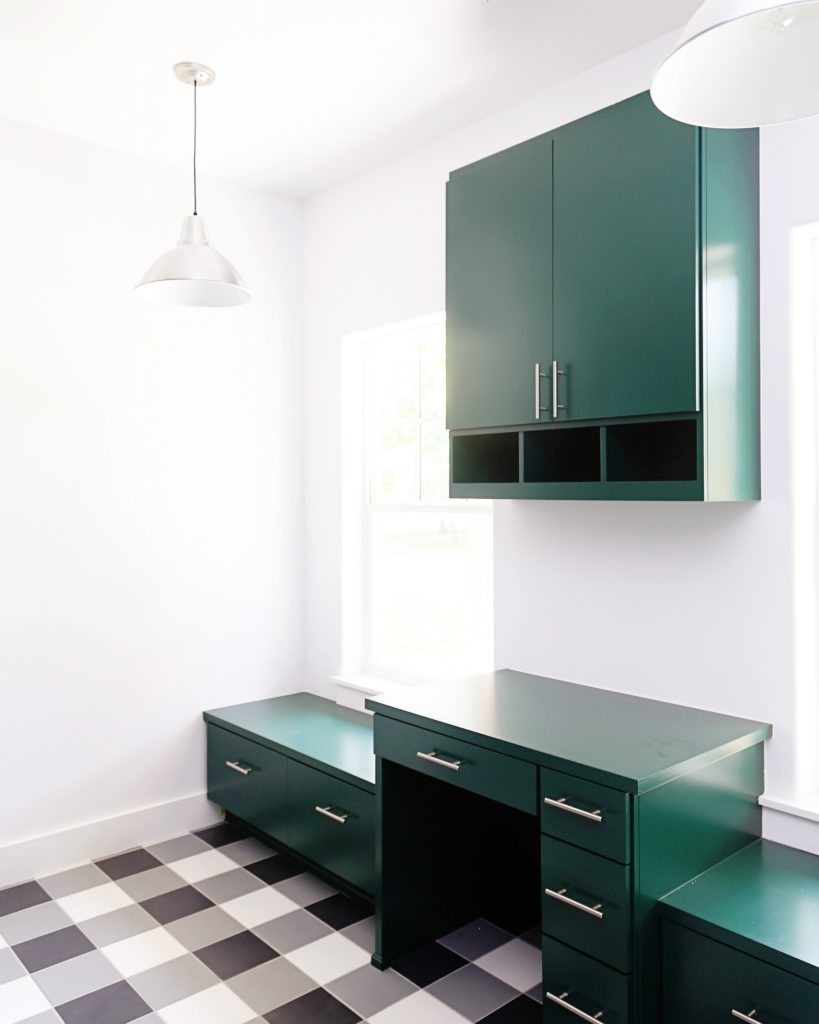
This one may be a little out there for some people, but we LOVE LOVE LOVE it. We used this tile from Interceramics Retro series in white, dark gray, and black, but you can find very similar tile at HD or Lowes. We literally just counted a buffalo plaid scarf, but it is pretty easy to determine that you will need 1/4 white, 1/2 dark gray, and 1/4 black to achieve this look.
We used 8×8 tile, which made the math for this particular room pretty easy. If you DIY, do your measurements first and determine if you would be better off with a 4×4 (which creates a really cool smaller format plaid), and 8×8, or a 12×12 (which is obviously larger and really cool). Doing this on the front end will serve you much better in the long run.
Finished product! You would NEVER know that the tile was under $3 a square foot!
2. Diagonal Crosshatch.
The crosshatch is a traditional pattern that is seeing a resurgence in a more modern way. We used this tile from the InterCeramic Concrete series and selected three colors. We decided to do a custom pattern of a 4×4 crosshatch (instead of the more traditional 2×2 or 3×3 to vary it up a bit. We laid the pattern on a diagonal, and completely randomly used the colors. We ordered 1/3 of each color.
We chose warmer colors, but this would look cool with ANY combo!
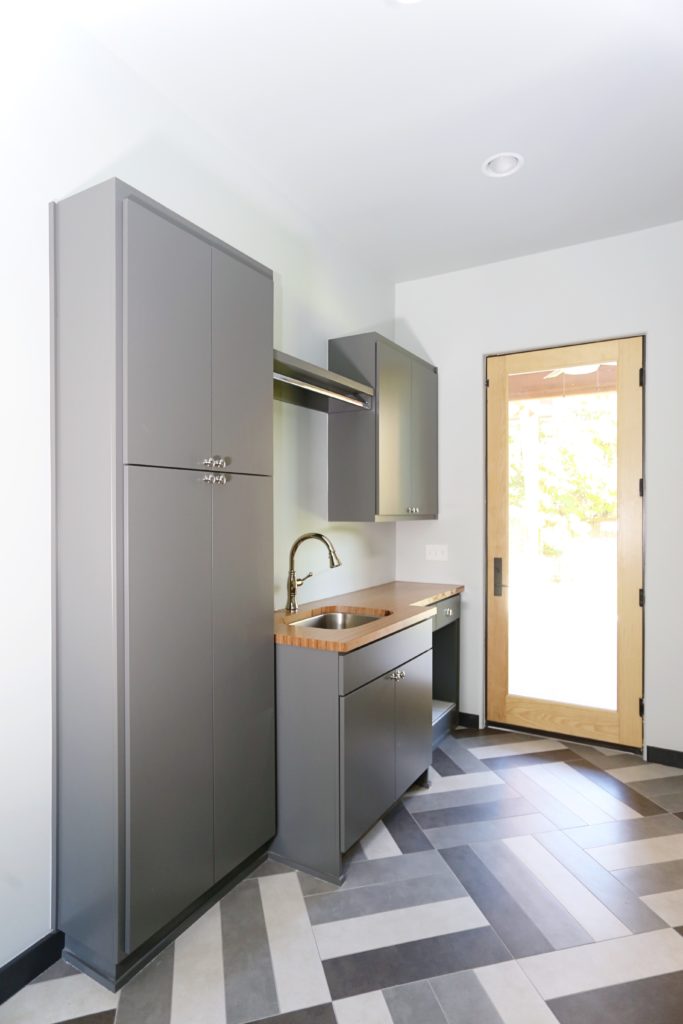
That tile is about $3.50 a foot, and it looks so cool and expensive!
3. Parkay
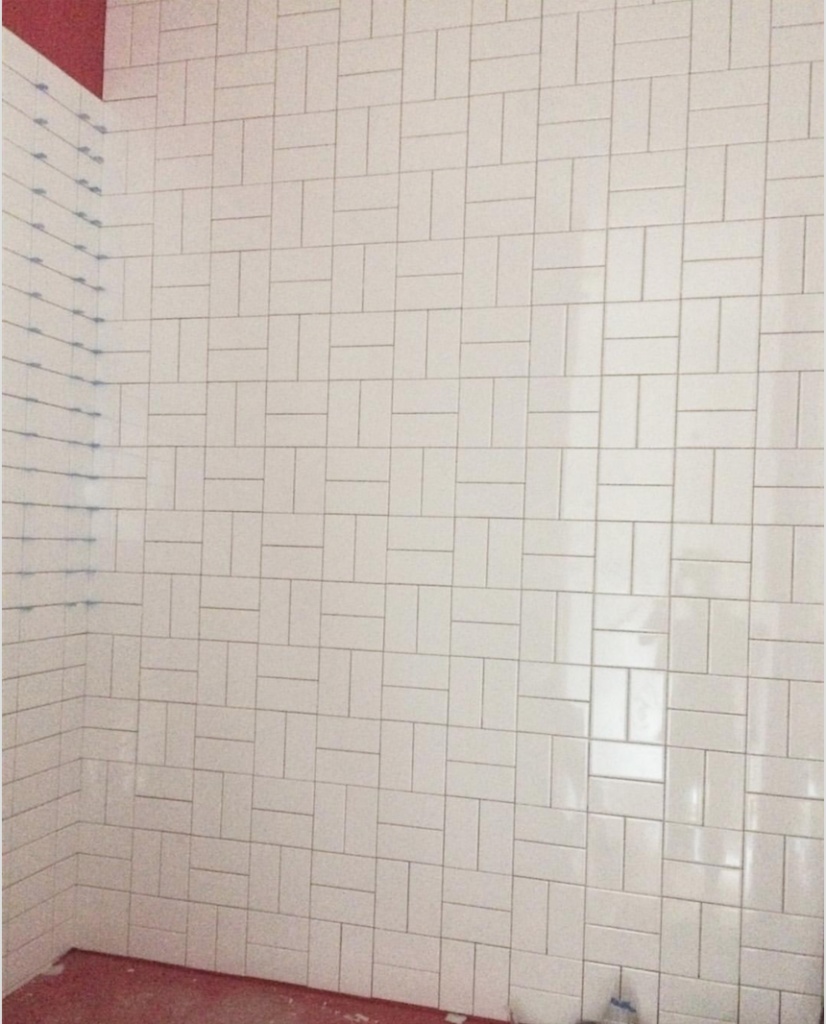
Kind of like crosshatch, but usually a 2×2 that is straight up and down. We used a traditonal bright white subway tile from InterCeramic and did this shower at our Mountain Modern Project.
This one is super simple to DIY–that is just a 3×6 laid 2×2–easy match, easy installation, but DANGGGGG does it look great. Would look sweet with a black and white combo!
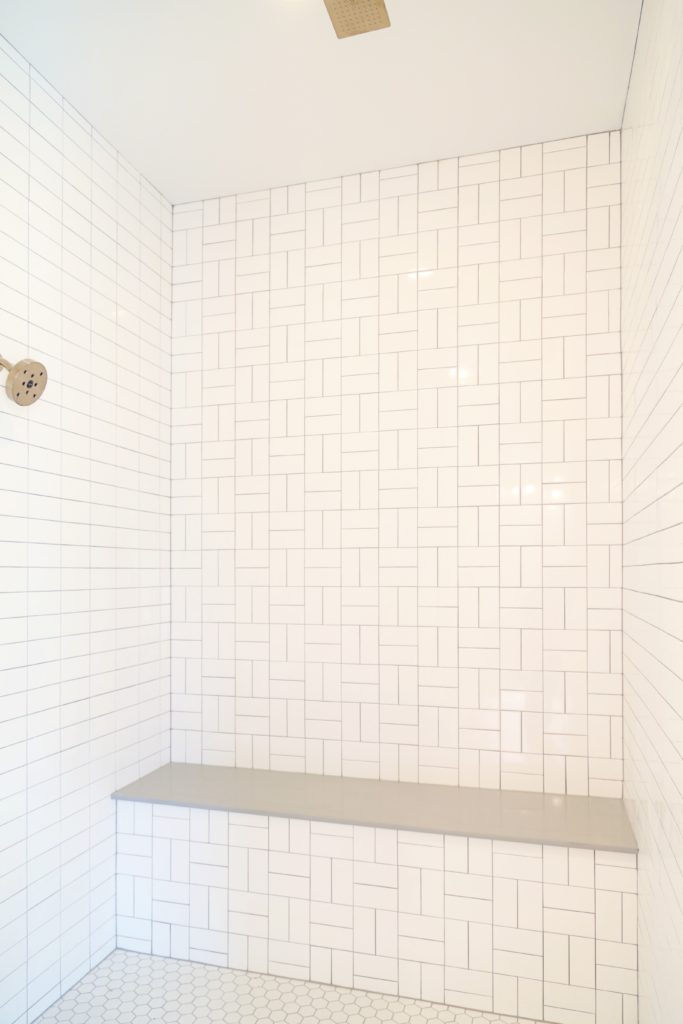
The front have that bench really kills me–love it. We kept the rest of the tile simple to let that parkay shine! Those subway tiles (which you can obviously get a Lowes and Home Depot) are about 22 cents a pop, but look that much cooler laid in this pattern.
And that is all for today, folks! Hope this was helpful!

