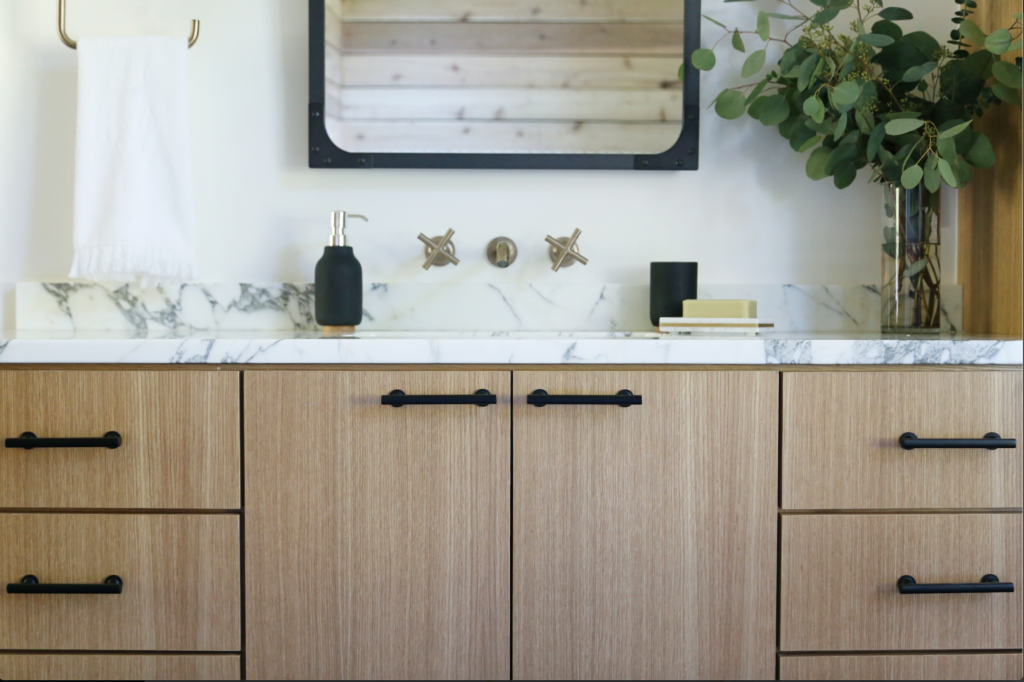
Master bathrooms can be tough, particularly when you are not designing for a specific client. You have to find a happy medium that both men and women find comfortable and appealing–better than appealing, AWESOME.
So the structure of this bathroom is interesting. There are double doors that open to a large feature wall, with his and hers (or his and his, or hers and hers, or whatever rings your chimes) vanities on each side. That feature wall is the outside wall of a very large shower. The shower is flanked on either side by an enclosed water closet and a free-standing tub.
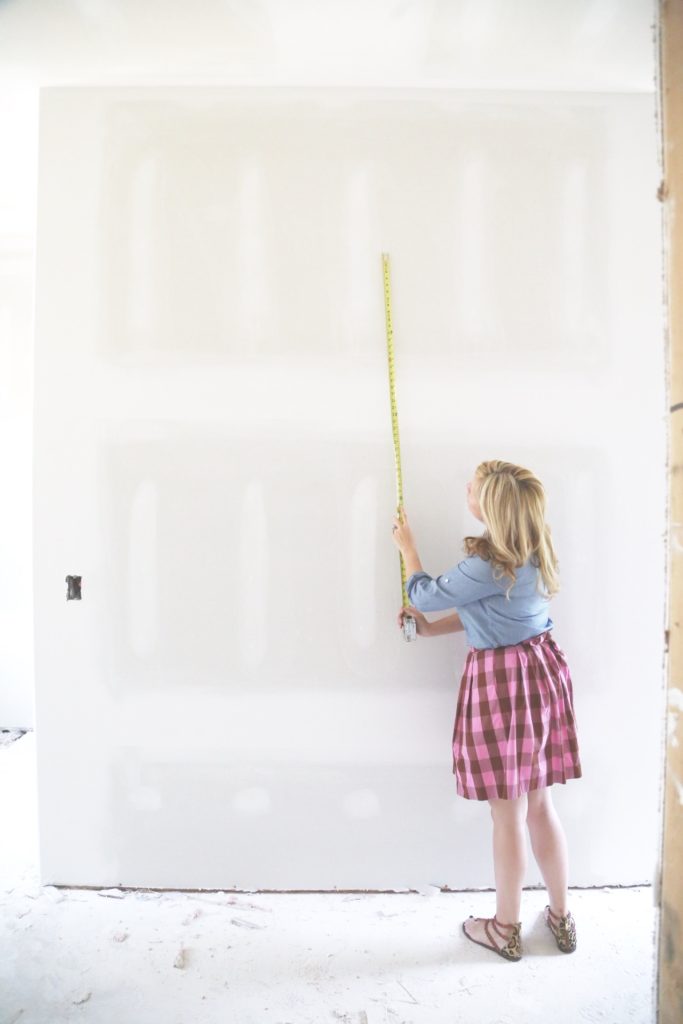
Oh heyyyyyyy. There I am, doing a real, real professional job of measuring that feature wall. This moment is important though, because what we decided to do with this feature wall actually dictated the rest of the bathroom. As I have said before, I don’t burn a lot of time mocking up boards. If I were working with a client, a board would be essential to show how different samples work together, but since it’s just me bouncing ideas off Clark after we put the kids to bed, I find it far more effective to simply make decisions and move on. We asked Instagram on this one, and people had some great ideas: “wallpaper! vintage mirrors! huge piece of art!”, but we thought we would pull from our current natural wood obsession and clad this feature wall and the two walls flanking it on either side of the shower with cedar. It’s got a natural shiplap vibe, but with the rest of our selections, the master bath maintains it’s modern feel too.
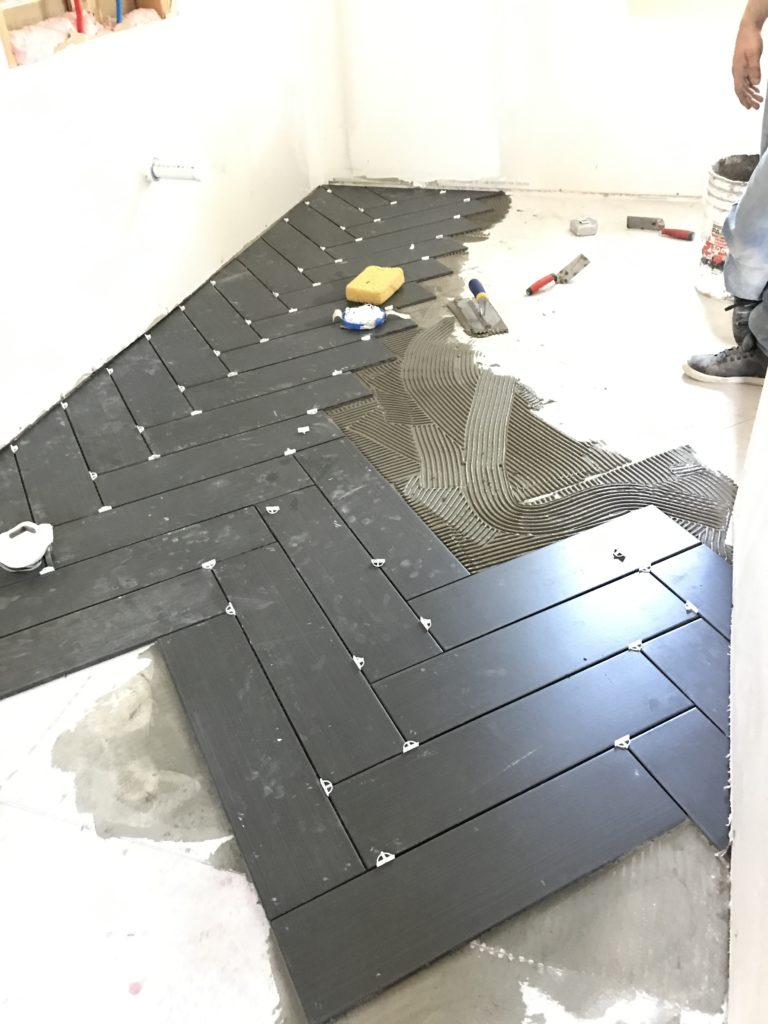
Once we knew what we were doing with the feature wall, I started to make other decisions. I knew I wanted to carry the natural wood cabinets from the kitchen in here, and I’ve never been able to resist a herringbone floor. This product is called Happy Floors, and can be sourced through Grigsby’s here in Tulsa.
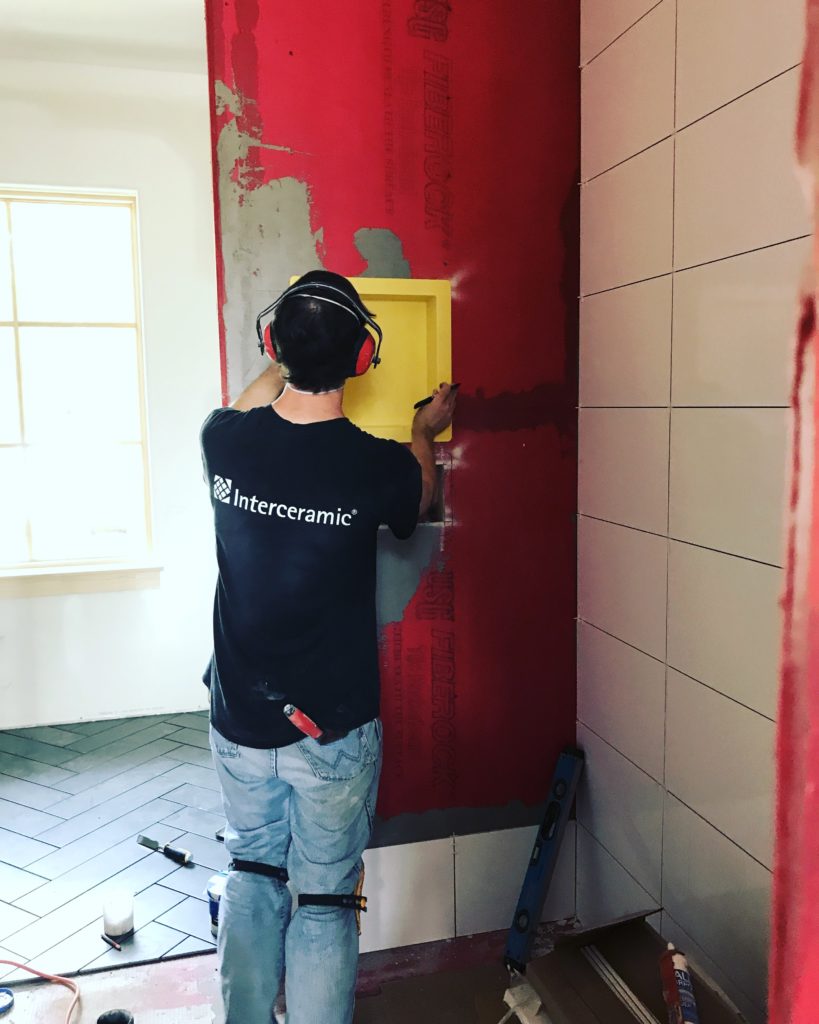
Hey David! Our tile installer looking like an Interceramic advertisement whilst installing a Duk liner shower niche. If you’ve never used a Duk liner, you really should. They take the hours-long task of creating a shower niche and turn it into a snap!
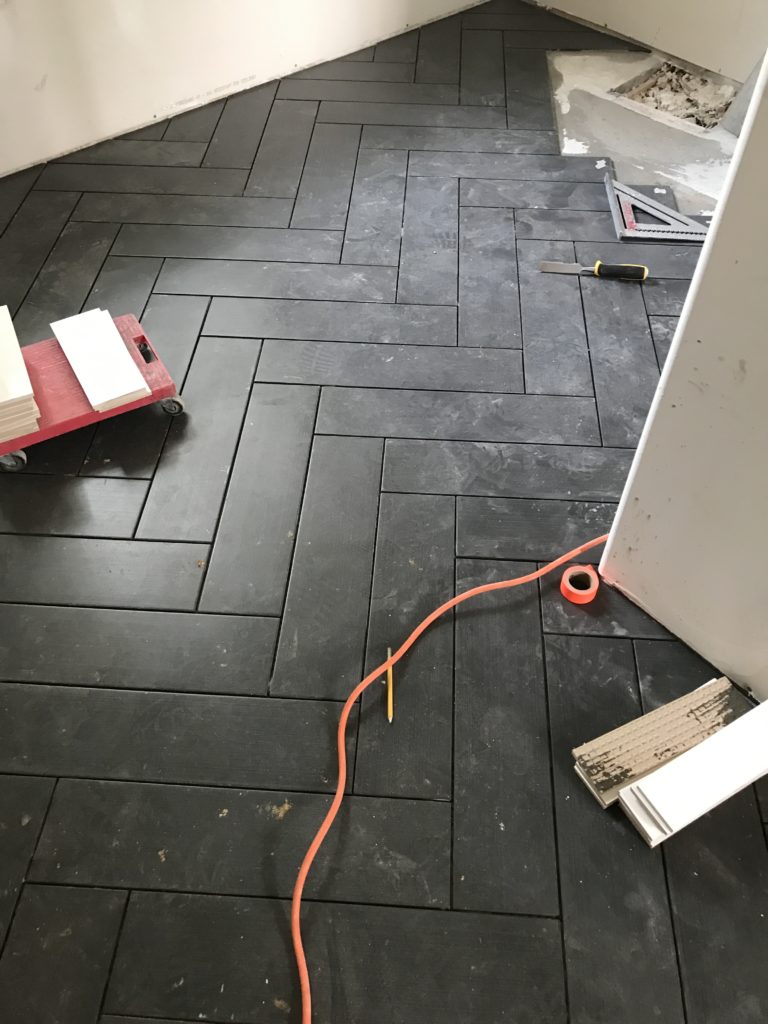
Even filthy, that floor looks so purrty. You can also see where we will eventually install the tub at the top part of that picture.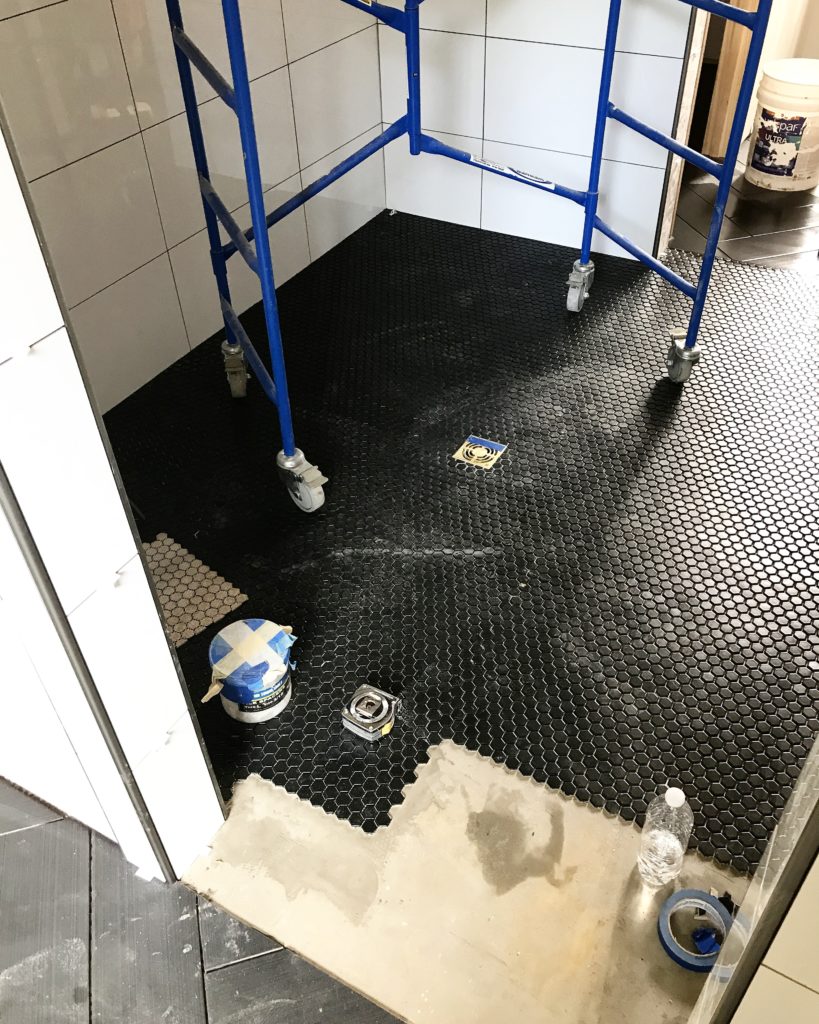
Love a tiny hex on a shower floor. Vintage vibe, provides tractions, etc.
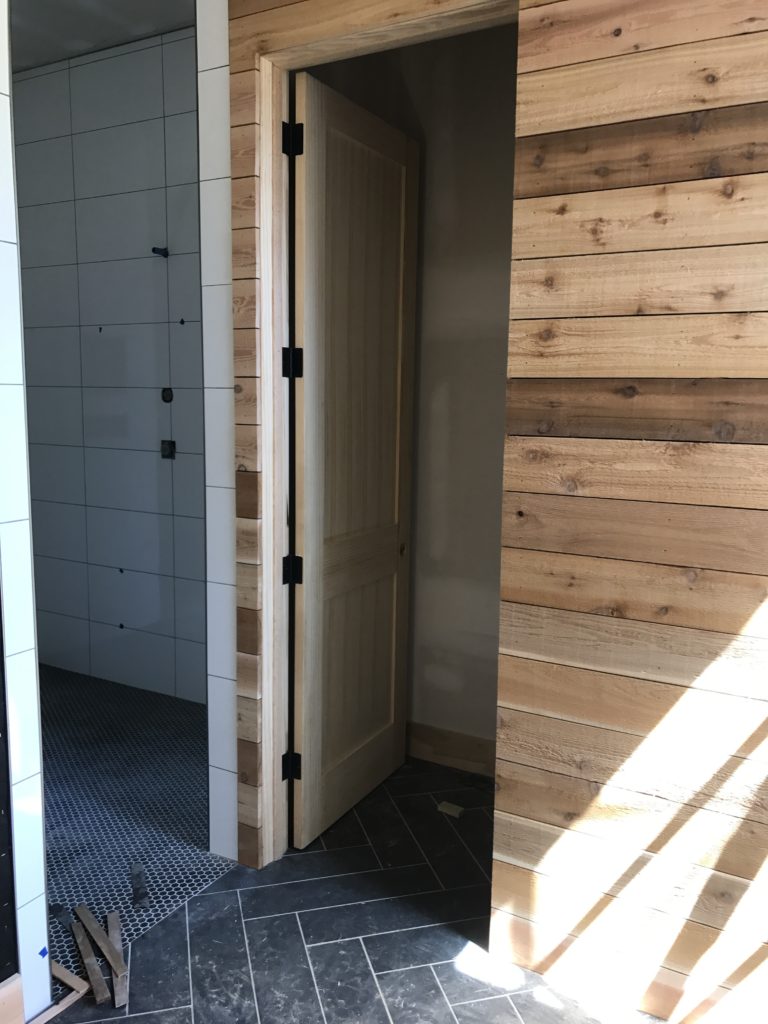
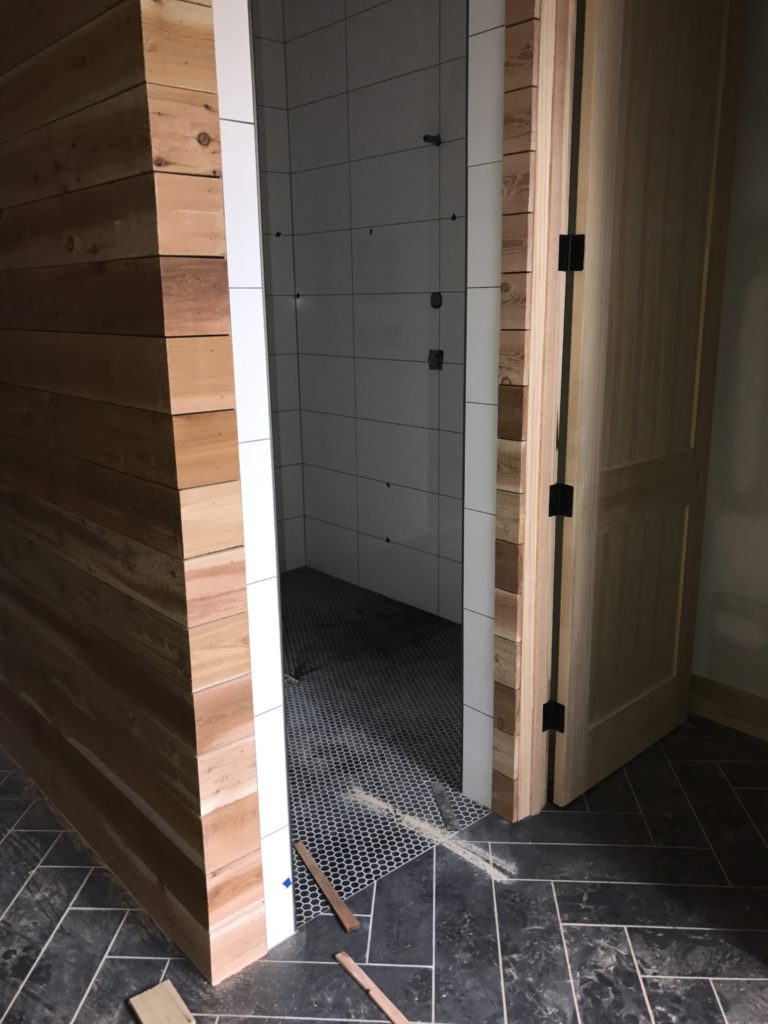
Here are some pics of when both the tile and cedar feature walls started to come together. Feels like a cozy, but modern, spa. 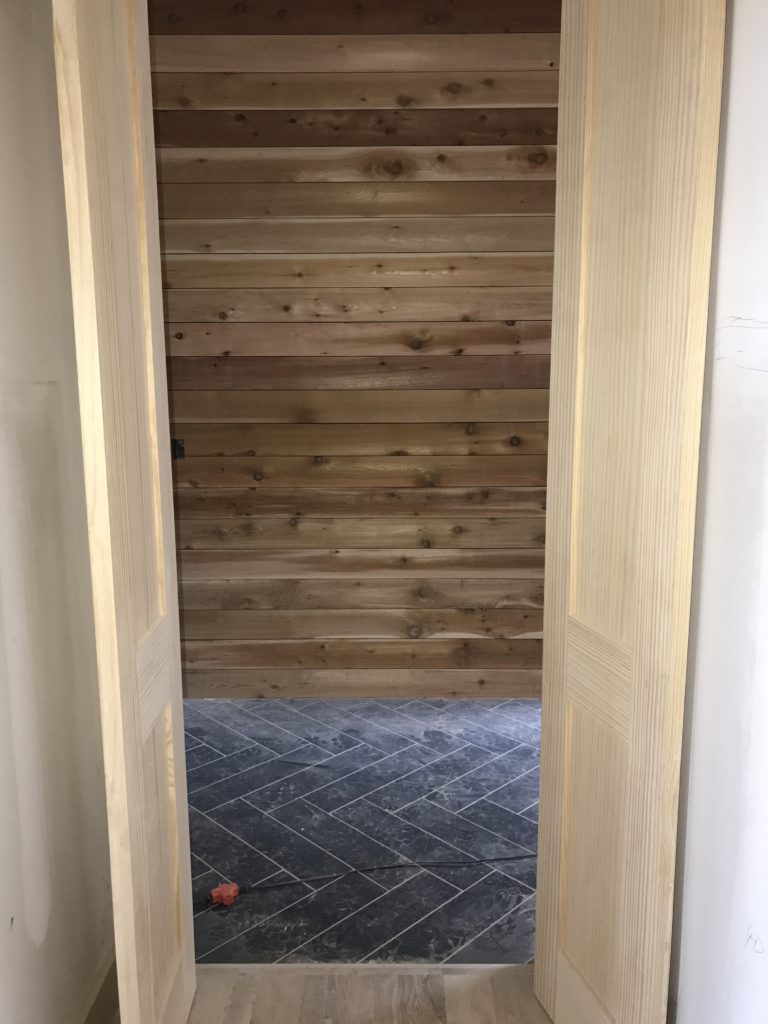
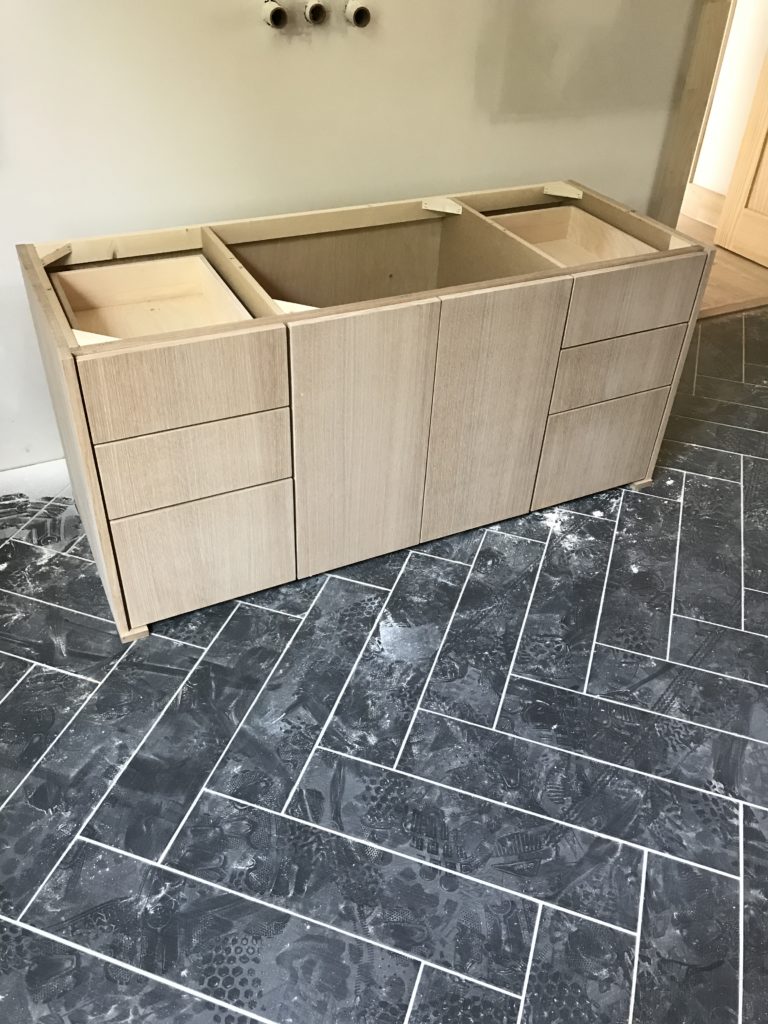
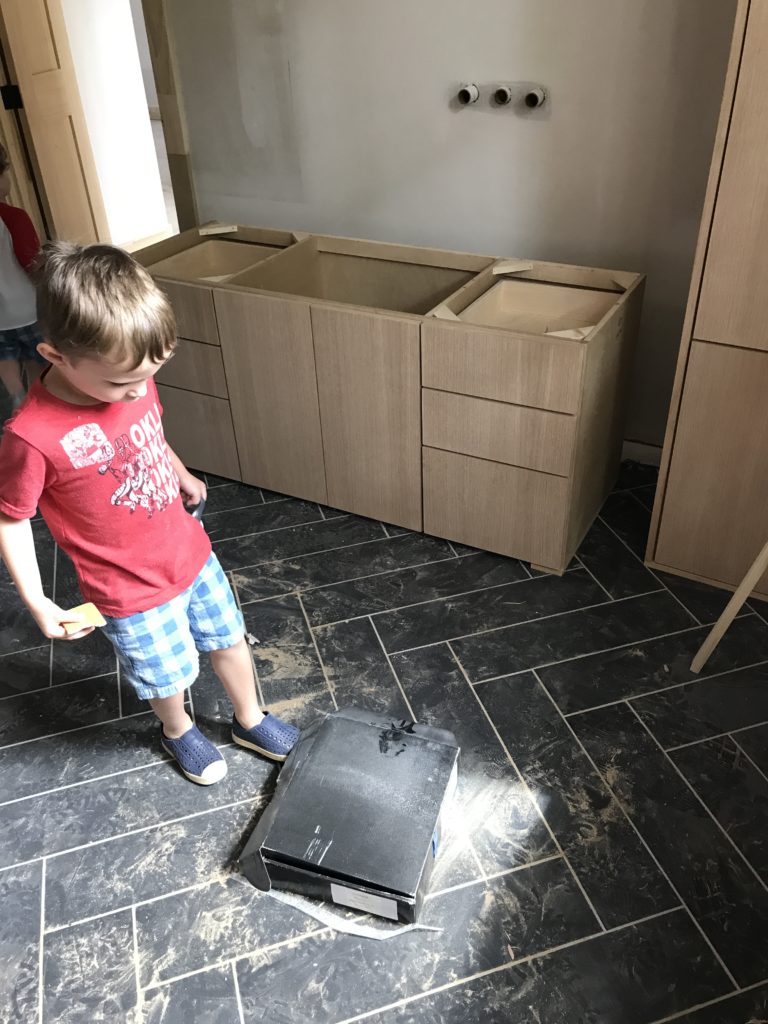
There’s Grey, doing a little inspection as the Woodstock cabinets arrive. Cabinet day is a pretty dang good one on the job site. 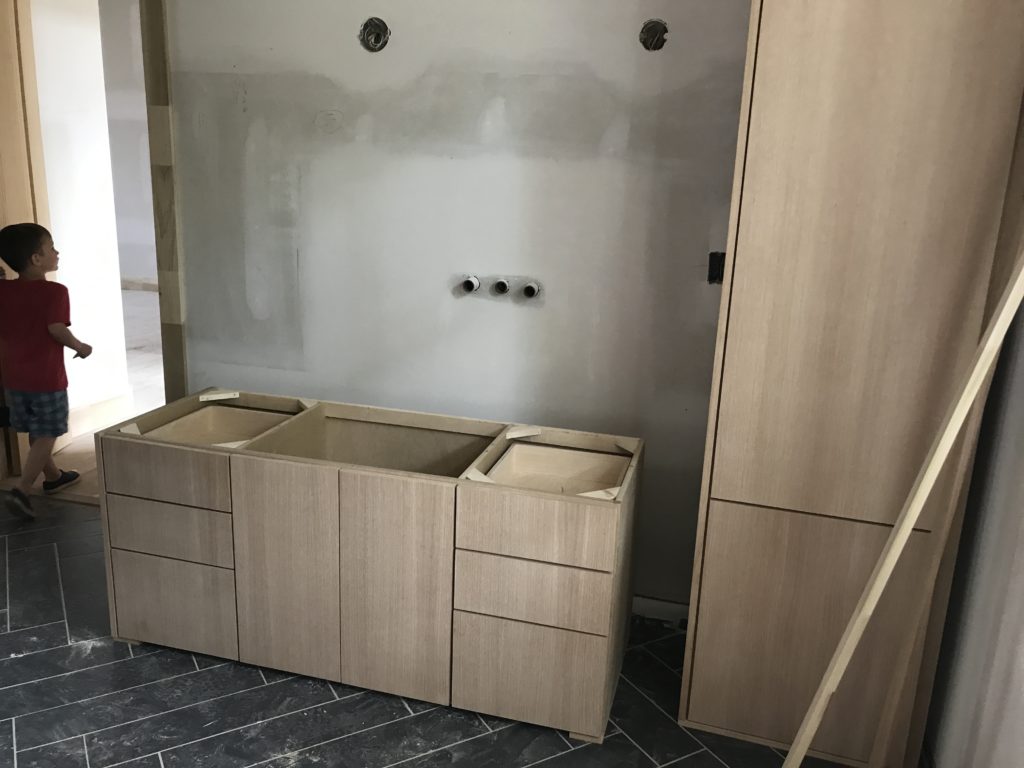
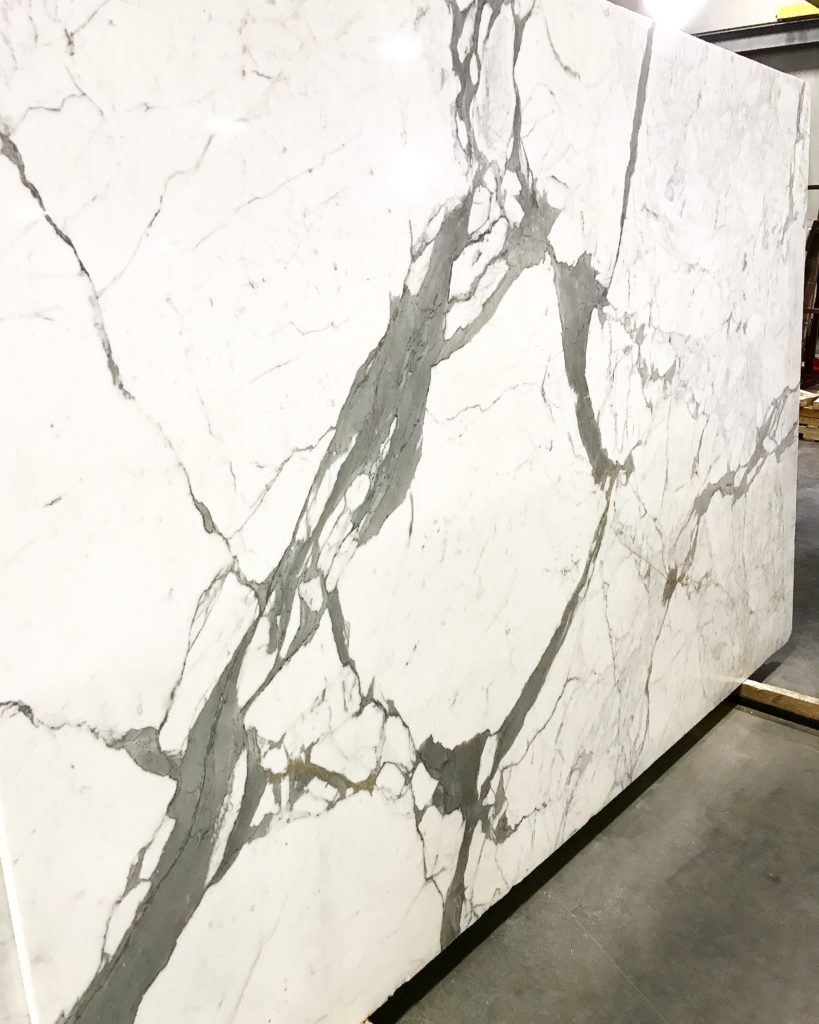 Remember this marble from the first Delaware kitchen post???? I LOOOOVED it, but they only had one slab, and we needed a TON for the kitchen. Luckily, one was just enough for the master bath! Huzzah!! I love it when stuff works out!
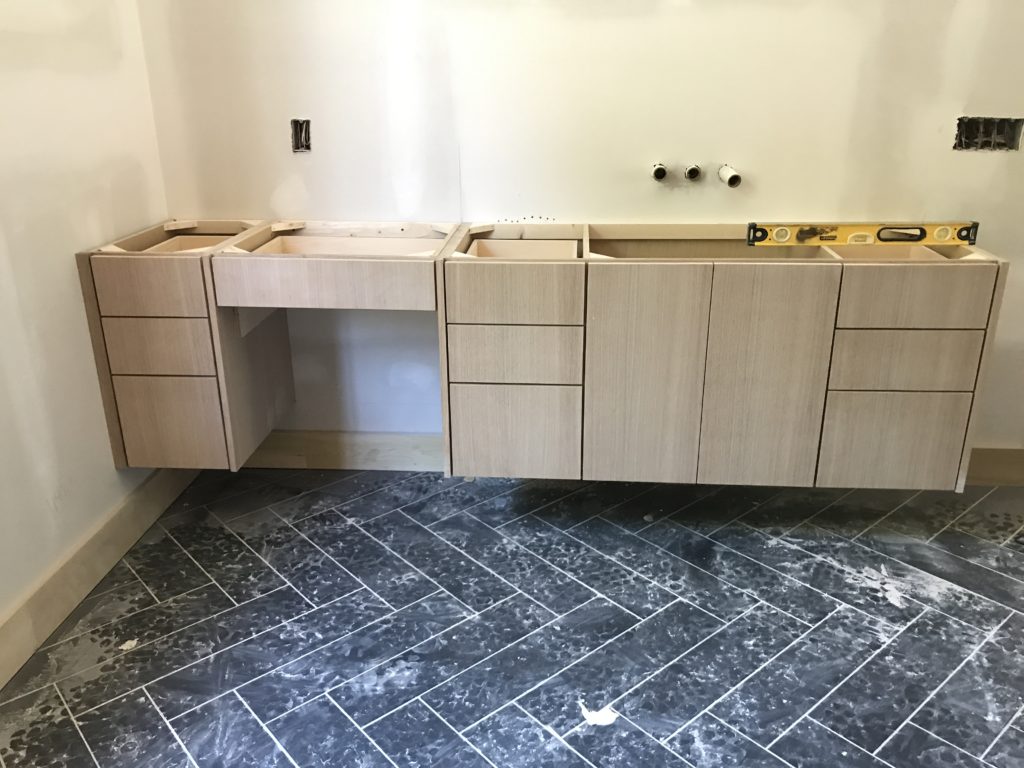
We went with floating vanities to maintain our modern vibe, but provided plenty of storage and a knee space on this side, and tower storage on the other.
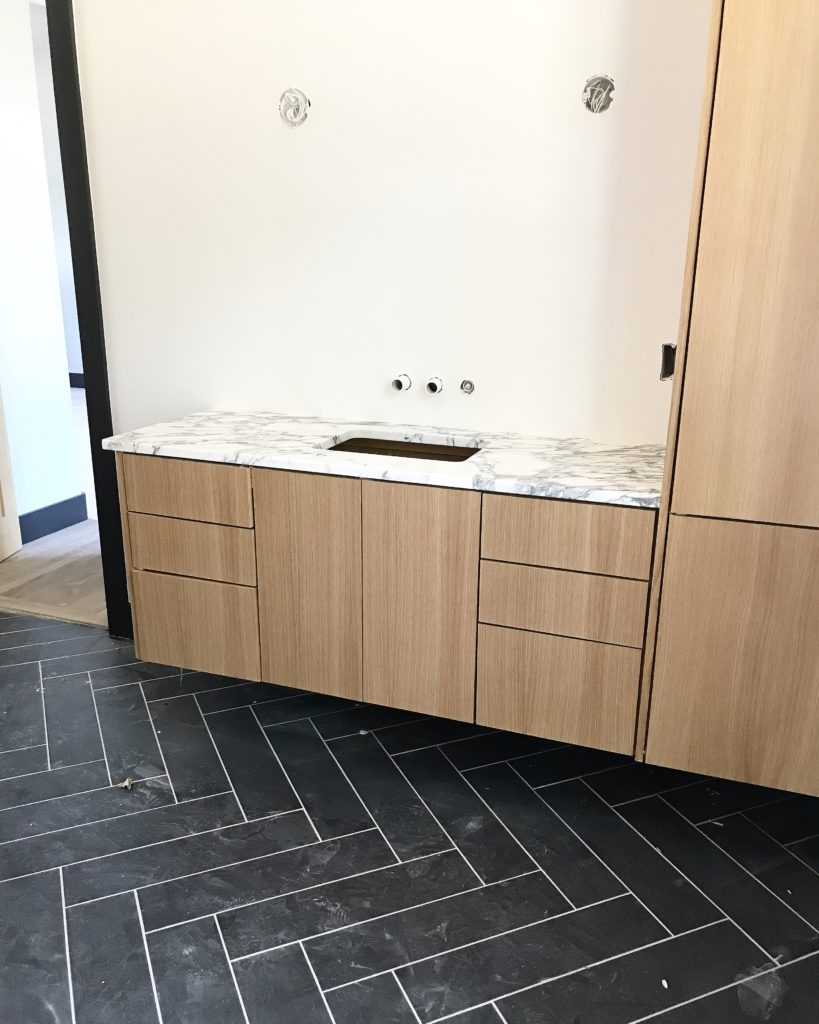
I really do get excited when countertops get installed. Like, for reaaaaals. I guess there are worse obsessions;).
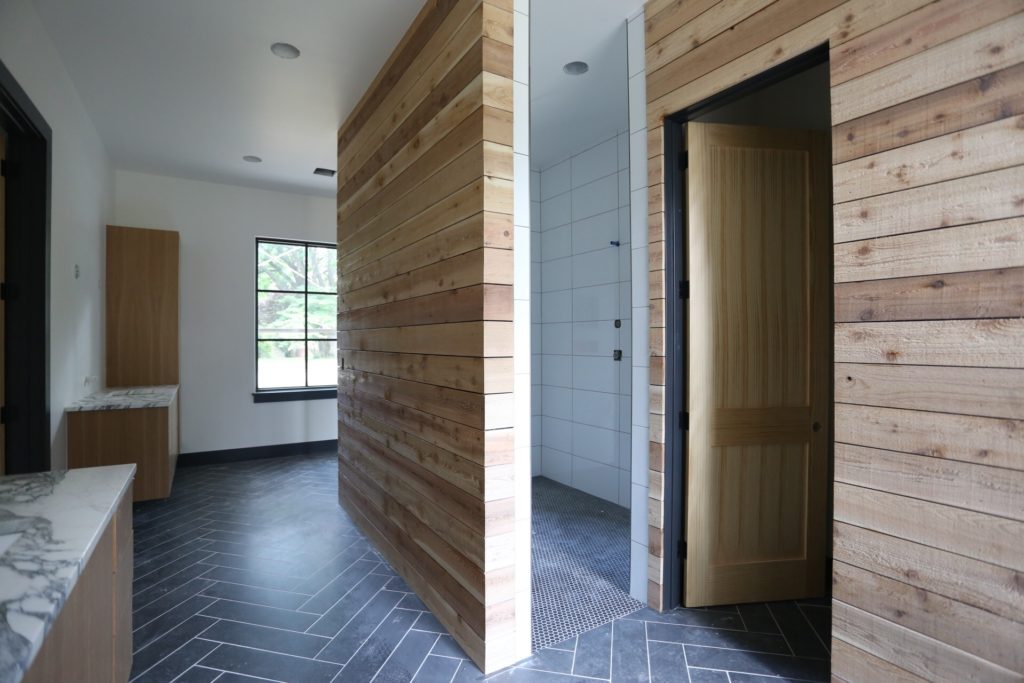
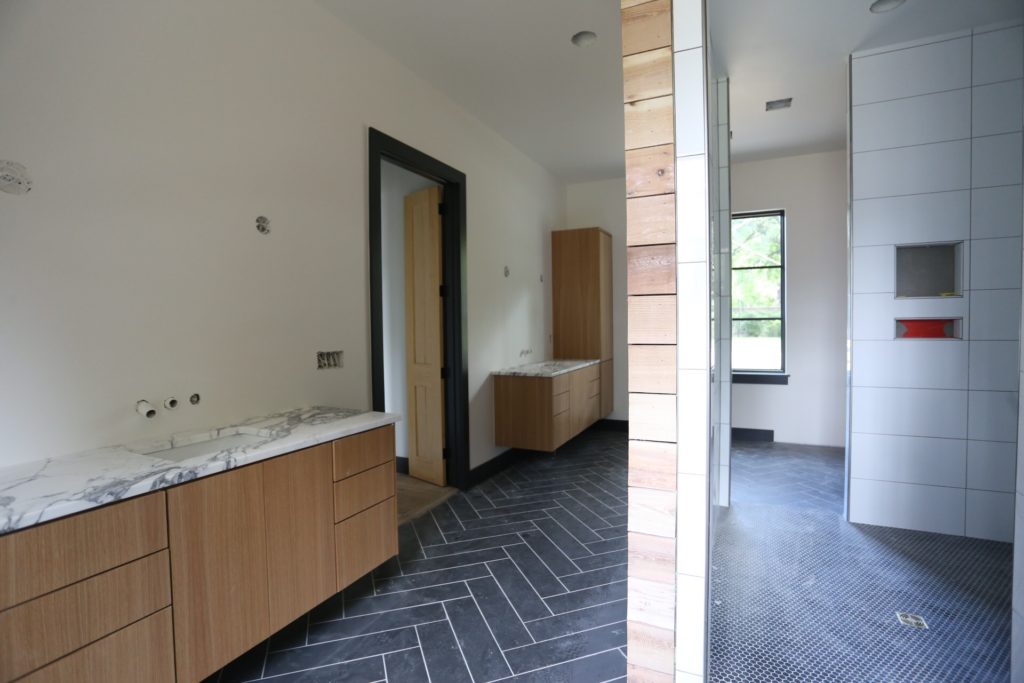
Our awesome photographer, Sarah Baker, came to take some progress shots at this point, so now you can get a sense of just how the bathroom is laid out, and the scale of those huge walls clad with wood!
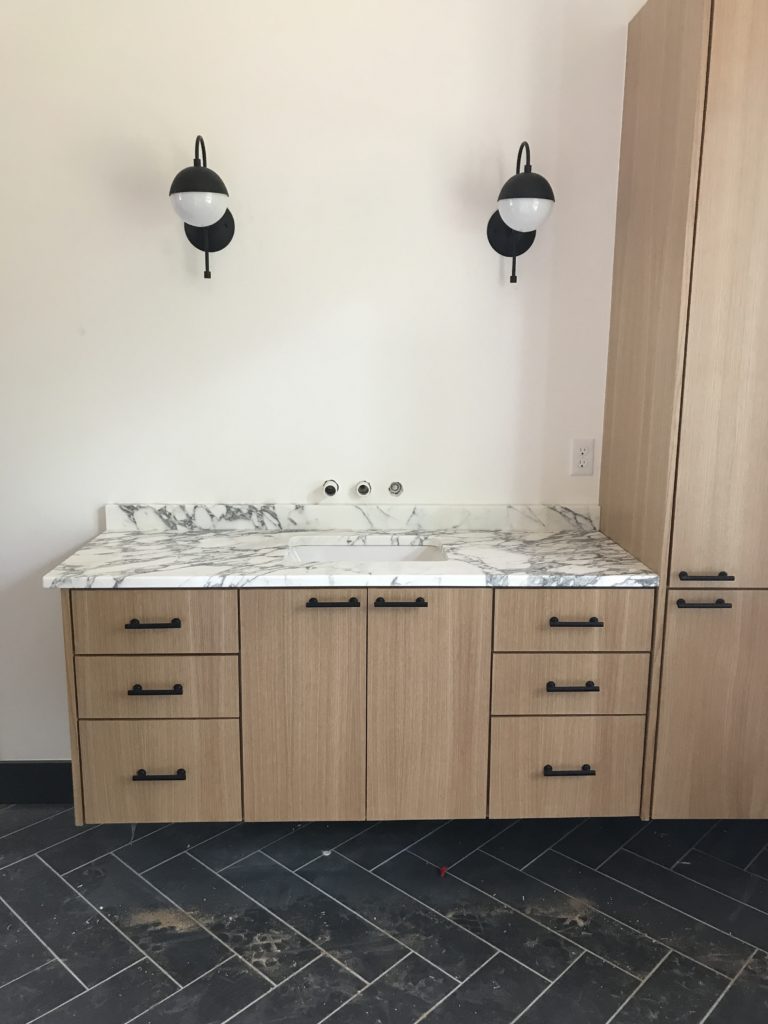
I also have a REAL thing for light fixtures, and these Cedar and Moss sconces from Rejuvenation are totes my jam. Equal parts modern and vintage, they are easily at home in a lot of design schemes. Here is a note on light fixtures–you get what you pay for. That doesn’t mean that inexpensive light fixtures are less well-made, but it typically means that the scale is quite a bit smaller. Be sure to ALWAYS check the measurements before you buy–if a price is really low, it often means that the fixture is small. Small can be perfect for many rooms/houses, but if you have a room that is large, or the ceilings are high, make sure to err on the larger side of your light fixtures.
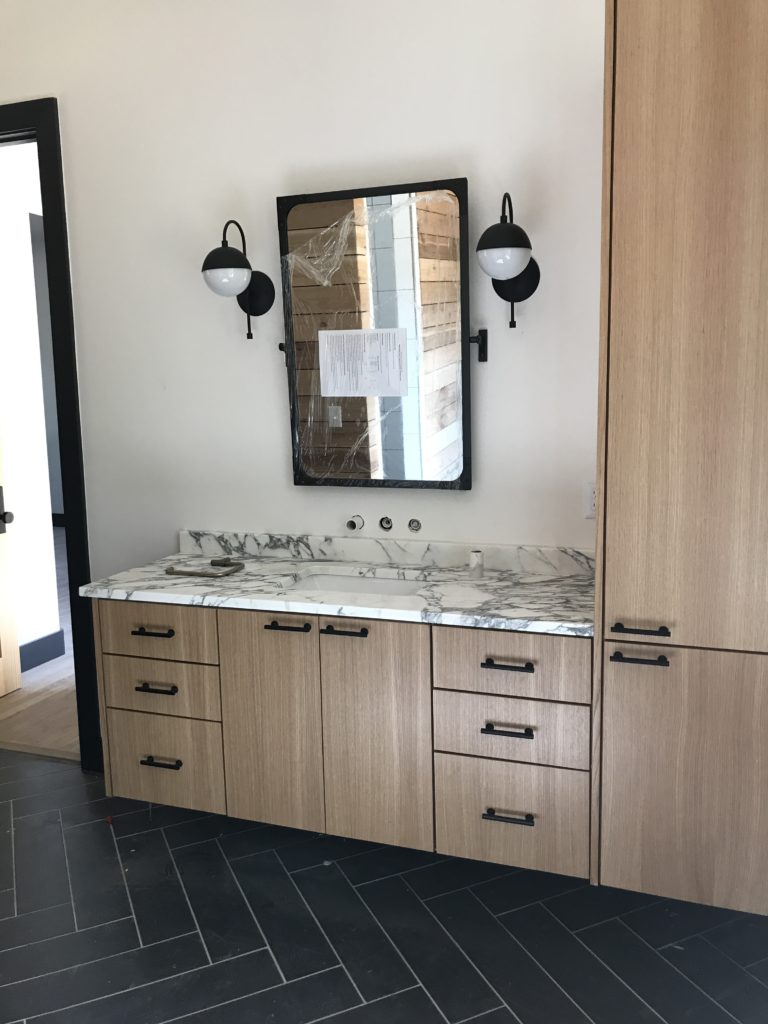
Mirrors in and Emtek hardware installed…there was just one area of the bathroom that was taking it’s sweet time coming together: the tub area.
I had selected this tile from Cle tile, and was STOKED for it to go in…but it turned out we ordered too little (we make mistakes too!), and had to wait for a second shipment. TILE IS MY FAVORITE. I know I seemed to have said that about countertops and light fixtures, but tile is my true love. Asking me to wait on tile that I am really excited about is like giving a kid a bucket of candy and telling them they can only eat one piece…it makes me real, real upset! Somehow I muddled through, and I can’t WAIIIIIT to show you the final result.
Stay tuned for the big reveal, which will include all sources!

2 thoughts on “The Delaware Project Master Bath Process and Progress!”
Love it!
Brilliant write up, thank you for posting this mate